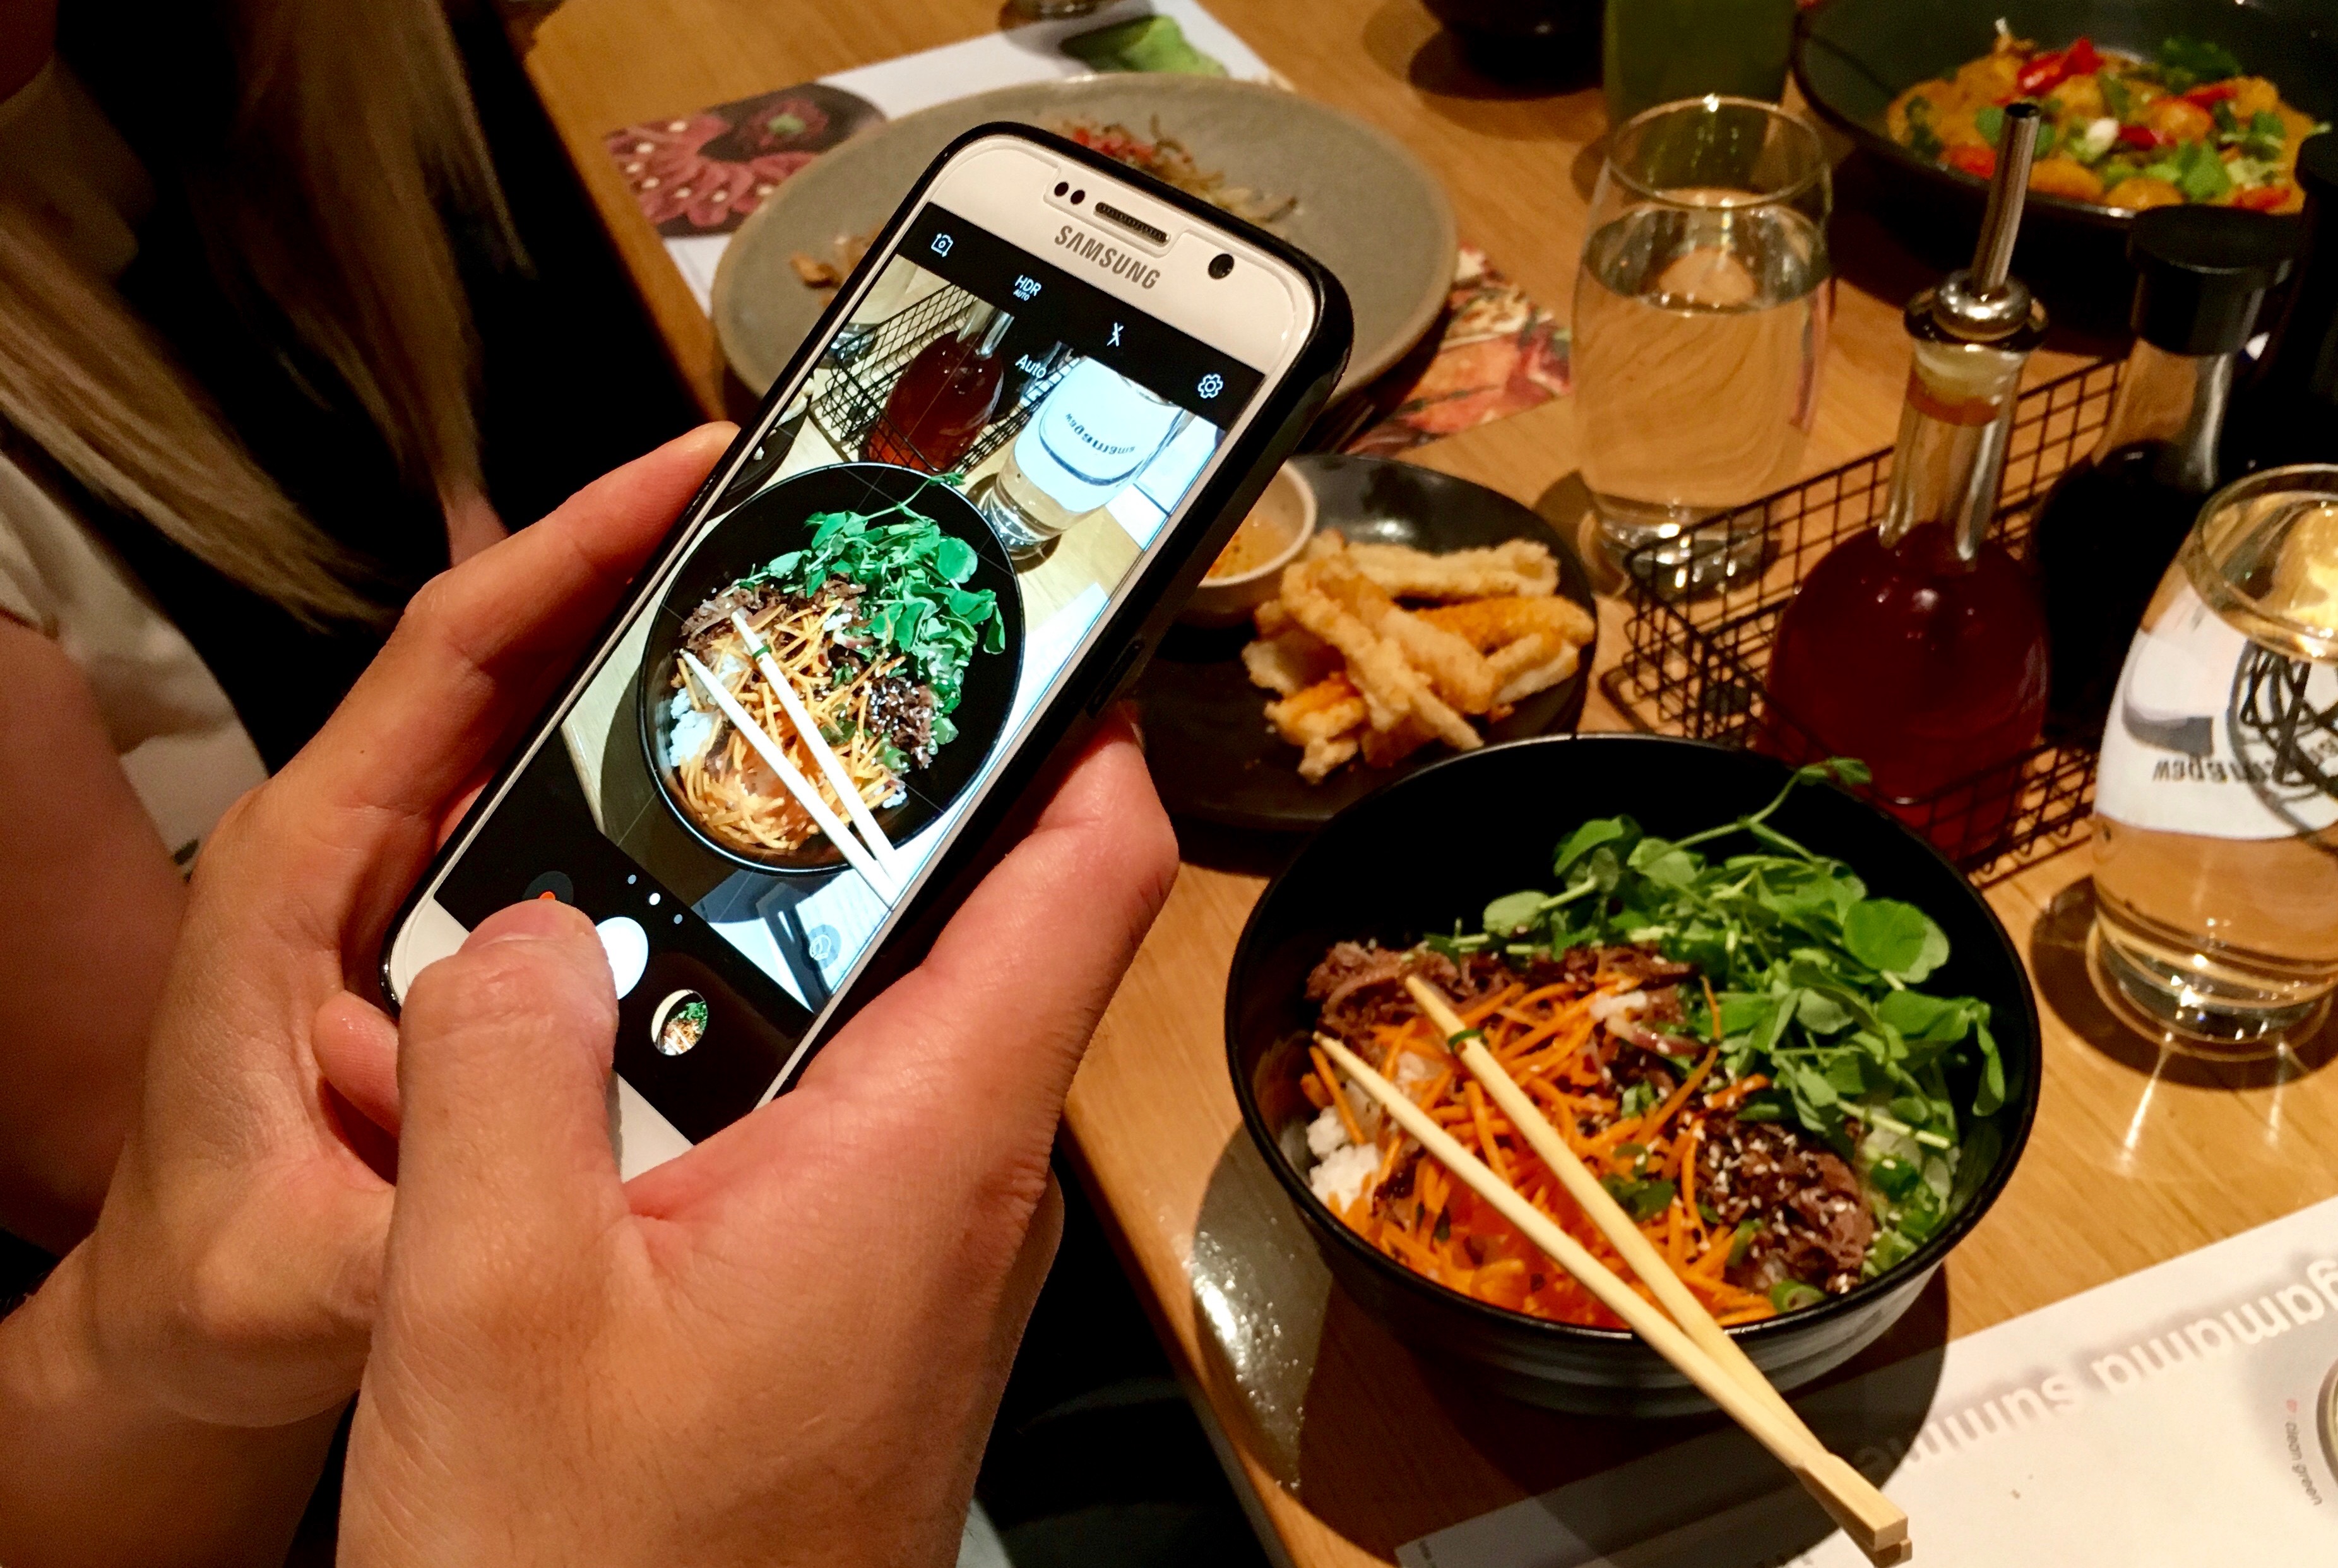
I thought I’d share my lesson notes with you here. There are plenty of foodies out there with a lot more followers than me and I’m totally self-taught but with four years worth of Instagramming food under my belt, hopefully, you’ll find some of this useful!
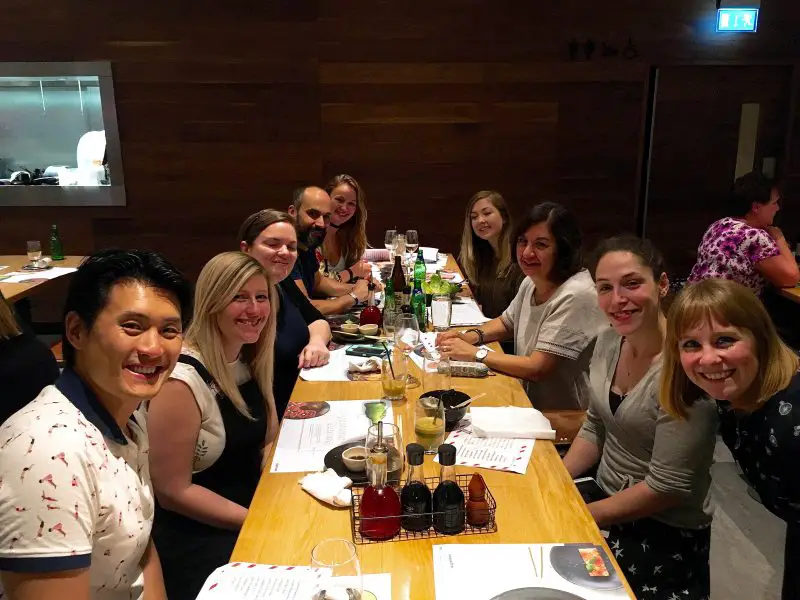
I split my instagram workshop into three easy sections which I’m going to share with you here:
- How to take the picture
- How to edit the picture
- How to promote the picture!
So, let’s get cracking!
How to take the picture
It sounds silly but first and foremost, you need to take a decent picture! That means in focus and bright enough. Although there’s a lot you can do with filters and editing, it’s always best to start is with a good picture in the first place.
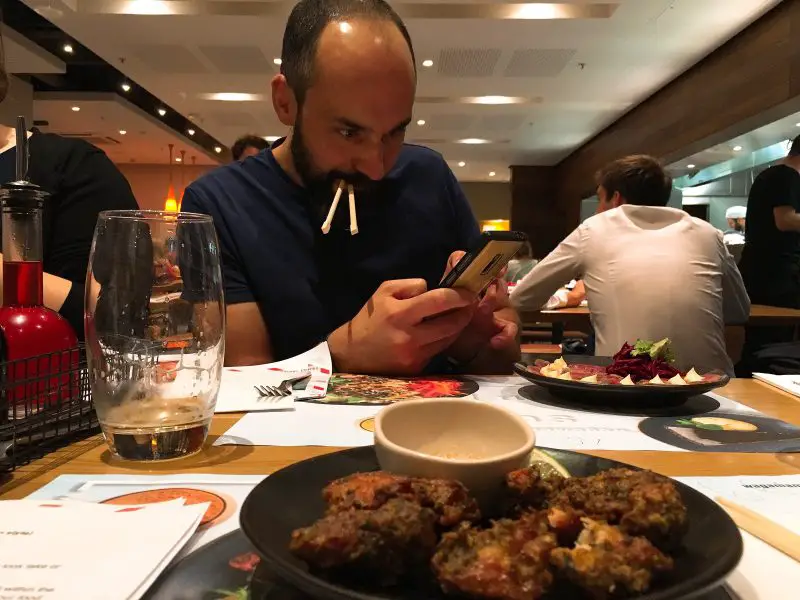
Always try to take your pictures in natural light because evening Instagramming can be tricky (especially in restaurants like Wagamama where the spotlights are not your friend). I would also suggest that you avoid too much distraction around the food and fill the frame with it rather than cropping down (and losing resolution) later.
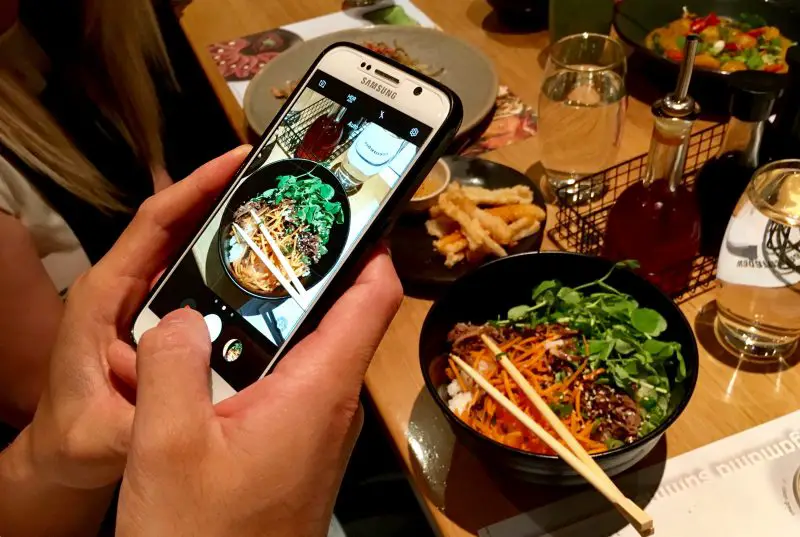
If you look at my Instagram feed you’ll see that I tend to stick to one of four angles. And here they are:
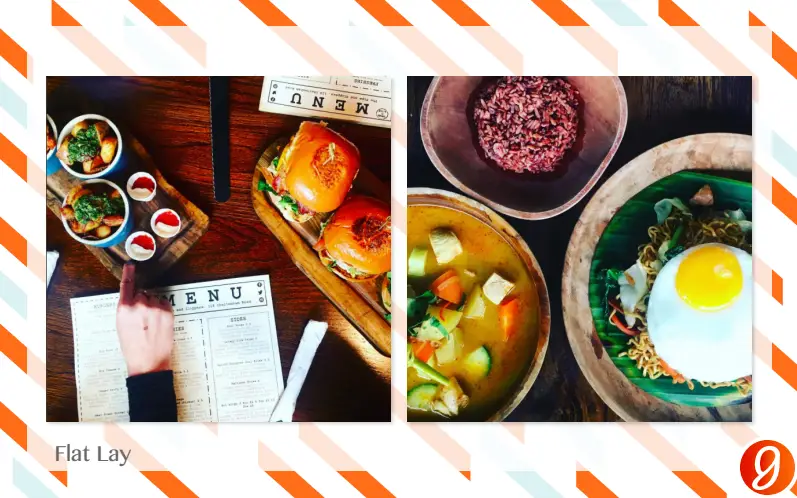
1. Flat Lay
- Taken from above, looking straight down onto the scene
- Works well with lots of different plates & bowls, cutlery etc
- Can be staged with props such as ingredients
- Works best with natural light
- I personally prefer nothing too fussy although there are plenty of Instagrammers out there who beautifully style their shots if you have the time and inclination!
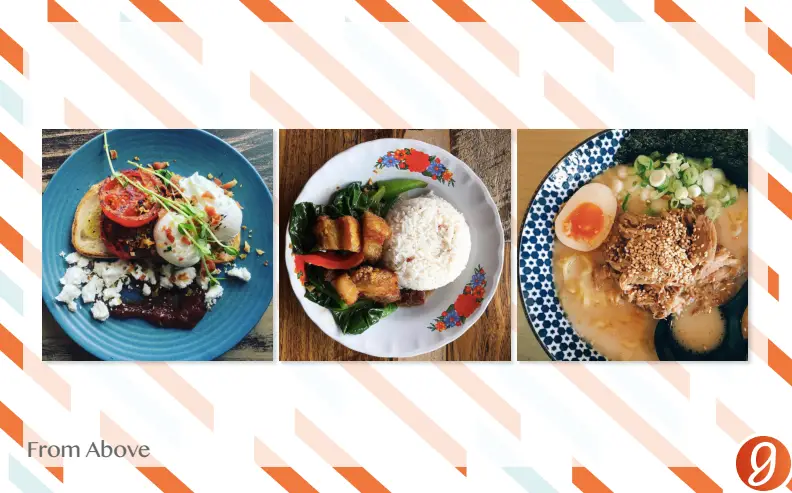
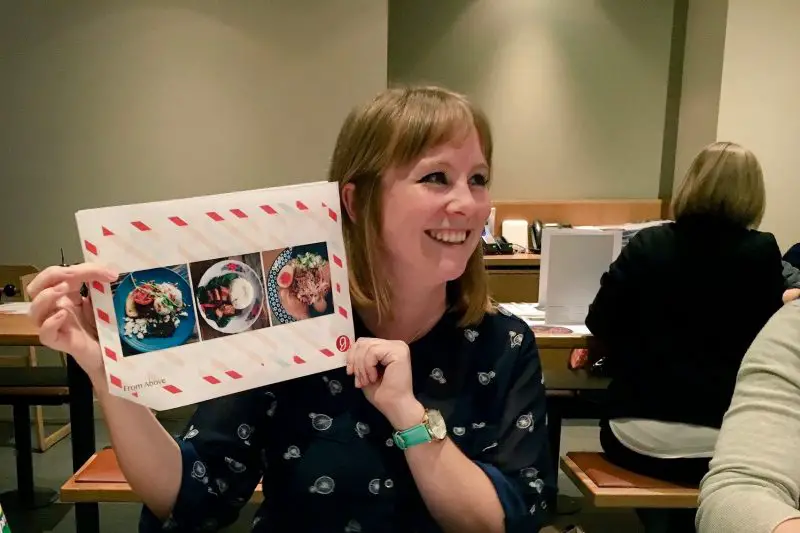
2. From Above:
- Same angle as a flat lay but one single focus rather than lots of items
- Works well with one single bowl or plate of food
- Best for pretty food and crockery with lots of colours or patterns
- Works best in natural light
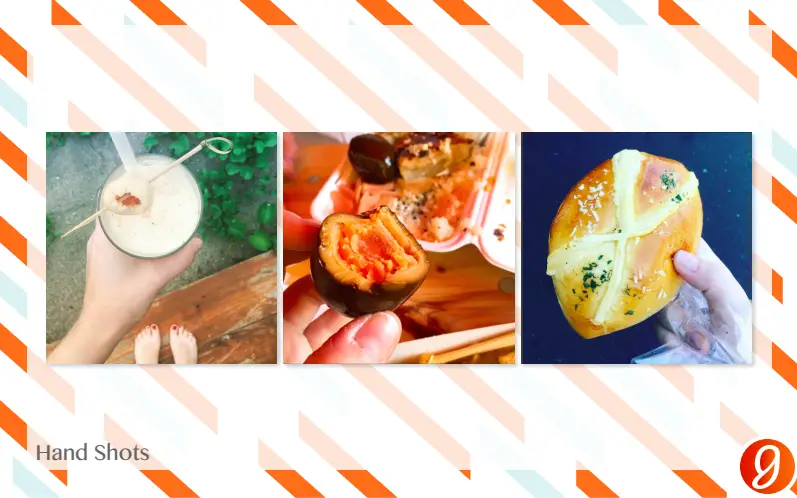
3. Hand Held:
- Taken from the viewers perspective, often held out in front of the camera
- You can do this with your own or someone else’s hand
- Great for capturing on the go candid shots eg. ice cream, street food
- Capture part of your environment eg beach, pretty floor, poolside
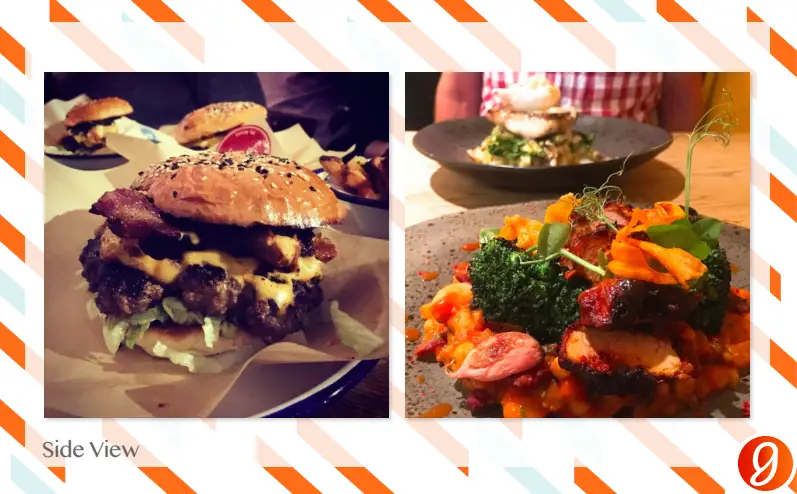
4. Close up, side on:
- Works with lower light
- Creates nice textures through low light shadows
- I tend to focus on one element within the shot, eg. an egg, burger, fries etc…
- Front focus on the main dish with the context of the table and other food in the background
How to edit the picture
Instagram makes editing your images very easy with all of its filters and edit functions already built in although I don’t tend to do too much more than brighten and adjust the contrast on my pictures.
That said, the ‘structure’ tool is useful because it brings out the definition which can really make your photo pop! Take it to the edge and you’ll get a really gritty looking effect which is often used by foodies posting pictures of burgers and other ‘dirty’ food.
Clarendon, Lark and Valencia are good preset filters on Instagram for food. Clarendon and Lark will brighten and sharpen, Valencia adds a slightly vintage, sepia effect which can look nice on shots of baking and less colourful food.
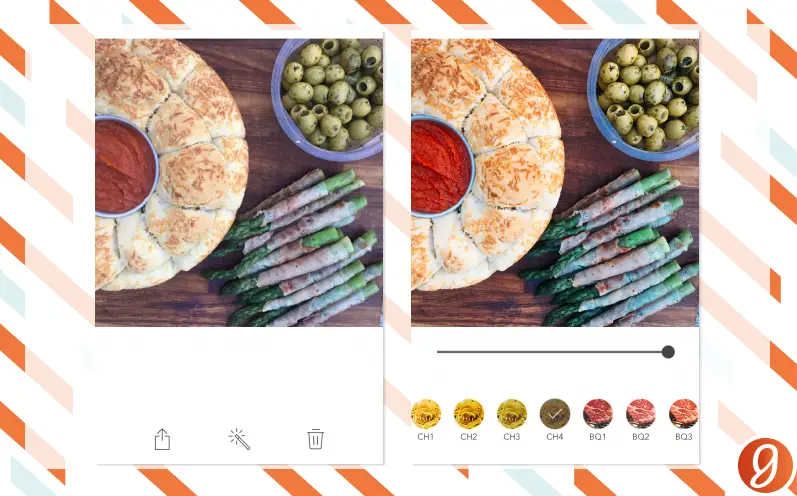
As well as the filters already built into Instagram, there are plenty of photo editing apps available to download too. Popular ones include Snapseed and VSCO BUT the one I really recommend getting is called Foodie. It is designed specifically for food and really does make a difference to how your images look.
See?
How to promote the picture!
If you want people to find your pictures, you need to hashtag. Always add the location (especially if you’re in a restaurant you really love for example) and use a couple of hashtags. I would recommend no more than 10 at a maximum.
My advice is to stick to following FIVE rules:
- City+food: #Bristolfood
- Key ingredients in the image: #Burger #Sushi #Ramen
- Place I’m at: #WagamamasBristol
- A couple of fun tags: #BurgerPorn #FeedMe #AlwaysHungry #FeedingTimeAtTheZoo
- Your own or specific hashtag: #GingeyTravels #CCFoodFest (this is especially nice if you want to click back and see a collection of your pictures!).
There are literally zillions of generic hashtags you can use for food pictures too. Here are the biggest ones worth considering: #eeeeeats // #feedfeed // #instafoodie // #foodie // #eatstagram
Finally, if you’re out and about, always add your location too, and tag the restaurant or place. This helps with your reach and you will show up when people are looking for a restaurant or place. And if you’re using insta-stories, do the same!
Summary
- Stick to a couple of consistent photo styles and make sure your pictures are well lit and not too cluttered. Let the food be the focus.
- Be careful not to over filter or, use filters designed for food textures and colours.
- Use location and ingredient specific hashtags to encourage engagement.
I hope these tips from my Instagram workshop were useful! If you want to share any pictures taken using them, why not use #GingeyBites so I can take a look and reshare my favourites?

Love this picture! Clever… and looks delicious too!
The top picture that is!!
Thanks Lisa! 🙂
I LOVE the foodie app! and I’m partial to the photos taken from above. I appreciate your insights.
Thanks, K, That’s great to hear! I’m all for spreading the love with the Foodie app, it’s such a secret weapon!
I always enjoy looking at your food photos, so this was a great read to hear more about how you achieve them.
I’ve not used the Foodie app before, so that’s one to look at when I clear my phone of all the burger photos 😉
Run your burger shots through Foodie and you’ll literally want to LICK the screen! 🙂
What a helpful post!! Thanks for taking the time to write this.
Thank you, I’m glad people are finding it useful! 🙂